
Steps to Better ISH

From patient to pathologist, preparing tissue specimens for histological examination requires care, skill and sound procedures. This guide provides practical advice on best practice techniques and simple ways to avoid common errors.
Tips for better ISH are highlighted in this guide. In Situ Hybridization (ISH) is a technique that allows for precise localization of a specific segment of nucleic acid within a histologic section. We hope each step in this guide provides a valuable reminder of good histology practice and helps with troubleshooting when unacceptable results do occur.
Want to see all 101 Steps to Better Histology?
Use High Quality Sections
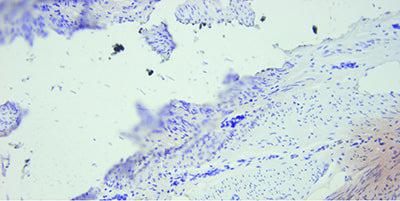
Take particular care to use thin, flat sections that have been thoroughly dried onto the slide. Use charged slides for ISH .
Uneven, poorly adhering sections stain unevenly with variable background staining.
In Situ Hybridization Ensure Optimal Fixation
Good quality fixation using known and consistent fixation conditions (fixative type, pH, temperature, time) produces the best results.
Inconsistent fixation conditions, producing under-fixed or over-fixed tissues, produce variable results and make troubleshooting difficult.
Avoid Section Adhesion Problems
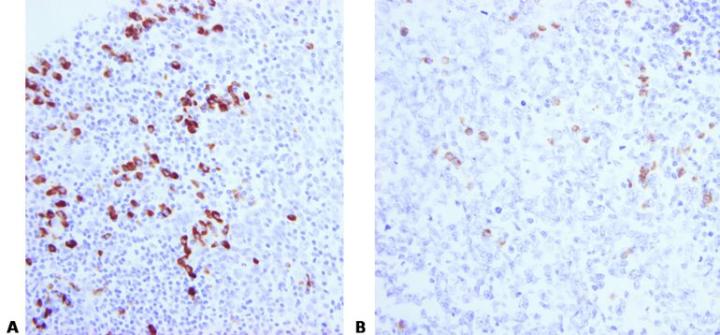
Avoid the use of protein-based section adhesives in the flotation bath (glue, starch, or gelatin), particularly on charged slides.
Protein-based adhesives can block the surface of the charged slide. This causes inconsistent adhesion and leads to uneven staining due to pooling of ISH reagents beneath lifting sections.

Optimize Wax Removal and Reagent Application
Take particular care with dewaxing and hydration of sections as well as efficient and uniform distribution of reagents on the specimen surface. This ensures even staining and consistent results.
Incomplete removal of wax can produce unstained or poorly stained areas in sections. Bubbles retained on the section surface during pretreatment or staining can cause problems.

Choose Probe Carefully
Choose your probe carefully with regard to its sensitivity and specificity.
“We buy our probes based on price alone.”
Read Specification Sheets
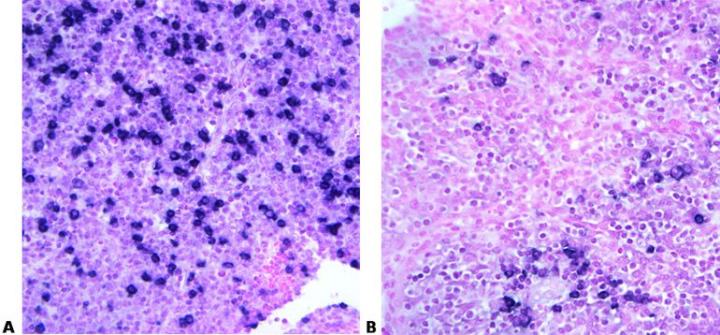
Know your probe. Always check the specification sheet to determine the suitability of your method for a particular probe. Carefully control temperature and time to provide optimal hybridization conditions. These must be exactly right to ensure that maximum specific binding occurs.
No access to the probe data sheets in the laboratory: “We just follow the standard method”.
Optimize Pretreatment Conditions
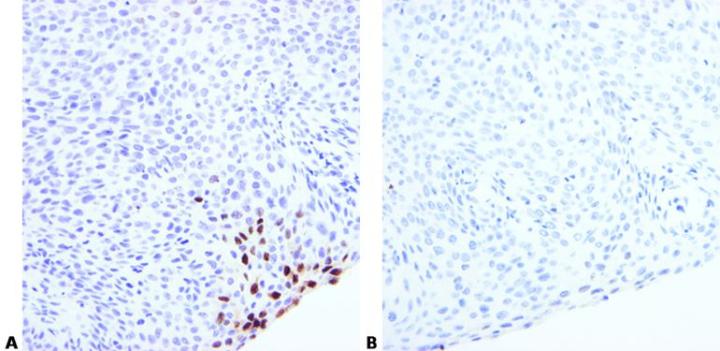
Choose appropriate pretreatment and optimization conditions. These will depend on fixation and tissue type.
Use of the same enzyme pretreatment conditions for different probes may sometimes produce poor results.

Handle Tissue Carefully
Careful handling of tissue specimens and prompt fixation will limit the loss of RNA by the action of endogenous RNases.
Careless handling of tissue specimens and delayed fixation will encourage the loss of RNA by the action of endogenous RNases.

Use Appropriate Detection System
Choose a sensitive detection and visualization system and optimize incubation conditions.
A lack of sensitivity in the detection and visualization system can result in very weak or even negative staining even though the probe is bound to a target.

Avoid Reagent Evaporation
Prevent evaporation of the probe solution and other reagents during incubation. Because of the need for long incubation times drying of the reagents is a common problem. The use of good quality equipment is essential.
If the probe or other reagents dry out on the section (usually at the edges) it can cause heavy, non-specific staining in areas.
Standardize Washing Steps
Use standardized washing steps throughout (duration, volume and form of agitation). This will ensure consistency of results.
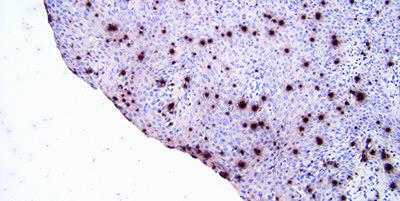
Results are variable within runs with the same probe and between runs on different days. This can be due to different washing techniques used by different operators.

Use Appropriate Controls
Use appropriate controls with every run. This should include known positive tissue and a negative control using a non-specific probe.
“We only do controls when our method doesn’t seem to work. If we did them for every run people wouldn’t bother to look at them.”

Evaluate Results Carefully
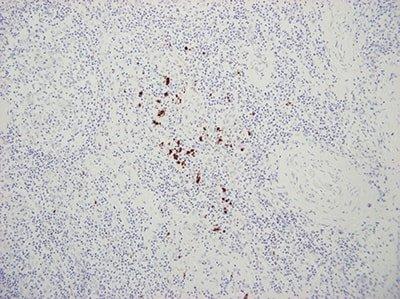
Know what to look for and where to look when evaluating your test sections and controls after staining. Anyone undertaking ISH should have a fundamental knowledge of the underlying theory of the technique and where to find positive staining.
If any staining is observed in test sections, it is assumed the stains are satisfactory.
About the presenter

Geoffrey Rolls is a Histology Consultant with decades of experience in the field. He is a former Senior Lecturer in histopathology in the Department of Laboratory Medicine, RMIT University in Melbourne, Australia.
Related Content
Leica Biosystems Knowledge Pathway content is subject to the Leica Biosystems website terms of use, available at: Legal Notice. The content, including webinars, training presentations and related materials is intended to provide general information regarding particular subjects of interest to health care professionals and is not intended to be, and should not be construed as, medical, regulatory or legal advice. The views and opinions expressed in any third-party content reflect the personal views and opinions of the speaker(s)/author(s) and do not necessarily represent or reflect the views or opinions of Leica Biosystems, its employees or agents. Any links contained in the content which provides access to third party resources or content is provided for convenience only.
For the use of any product, the applicable product documentation, including information guides, inserts and operation manuals should be consulted.
Copyright © 2025 Leica Biosystems division of Leica Microsystems, Inc. and its Leica Biosystems affiliates. All rights reserved. LEICA and the Leica Logo are registered trademarks of Leica Microsystems IR GmbH.


